Xevelabs

To content | To menu | To search

Tag - xevelabs

Entries feed - Comments feed

Friday, January 17 2014

USB2AX firmware update

- this dates back a few weeks, but I forgot to publish it! -

The updated firmware guide is available on the documentation wiki!

Recently, I got reports of USB2AX units that did not function properly with Robotis' Dynamixel wizard. Those were brand new units, and multiple simultaneous hardware failures seemed unlikely. Time to investigate.

On my computer, nothing strange, as always, the famous "It works for me" syndrome. However, I noticed that a RoboPlus update was available, and, thinking nothing of it, I started downloading it while searching for a way to repeat the problem at home.

As you might have already guessed, the new version of RoboPlus turned out to be the trigger element, and what is comes down to is the addition of support for Dynamixel PROs.

It appears that the Dynamixel PRO line uses a different protocol named Dynamixel 2.0. This protocol is more complex than DXL 1.0, with more header bytes (4!), longer adresses (2 bytes) and longer CRC (2 bytes), and a lot of new commands and cool features.

The fun thing with the Dynamixel Wizard is that even when you want it to search for DXl 1.0 devices, it sends a DXL 2.0 broadcast ping. And this ping looks like a DXL 1.0 packet addressed to 0xFD (the id used by the USB2AX), with a length of 0 bytes (which does not play well with DXL 1.0 as it's supposed to be >= 2), and a command ID of 0xFE.

As Murphy's law dictates, this ping 2.0 just so happened to fall in what seems to be the only place in the USB2AX parsing state machine where it could be stuck... which explains that after that, nothing would work anymore.

This is a good reminder why testing inputs with fuzzing techniques and trying to make completely fool-proof input parsing code is important. Luck has it that something will always happen to your program fail even when it is very unlikely.
Wednesday, April 4 2012

USB2AX mini

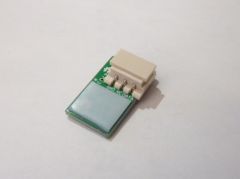
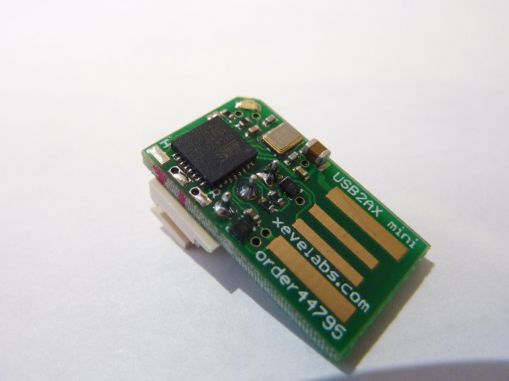
The USB2AX project is still on track (more on that in a next post). As a little side-project, I wanted to have a try at making the USB2AX even smaller while retaining all the current characteristics (ATmega32u2, ESD protection, LED, etc). That's how the USB2AX Mini came to be.

USB2AX_Mini___12_.jpg

The motivation is just to have fun and satisfy my lust for optimization. Or some might say pseudo-optimization here since by over-optimizing size, some other aspects of the device suffer, like quality of the physical connection (resistance to vibrations and yanking). But hey, this one will most probably never go beyond the prototyping stage, so please leave it to that.

I wanted to stay away from some obvious ways to make it smaller, like putting components on both side, using components too-small-to-be-soldered-with-my-crappy-prototyping-tools, requiring custom mechanical parts (like the ones used in the miniature bluetooth or WiFi dongles, with the electronics inside the USB plug) or cutting functionalities (ESD protection, status LED...). Thus it had to be possible to assemble with the same tools I already use and keep the nearly the same BOM as the v3.0. Working on the connectors seemed like the way to go, as they occupy around 75% of the board real estate.

The ideas here are:

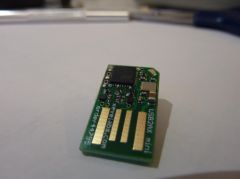
  • use a PCB USB connector, with gold fingers this time (saves 10mm)
  • move the dynamixel connector so it is the closest possible to the USB plug, on the other side of the electronic components (saves around 5mm)
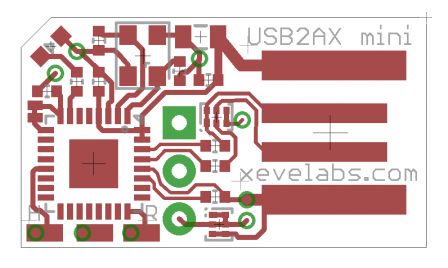
  • route the USB lines between the Dynamixel connector's pads (saves still a little bit more)

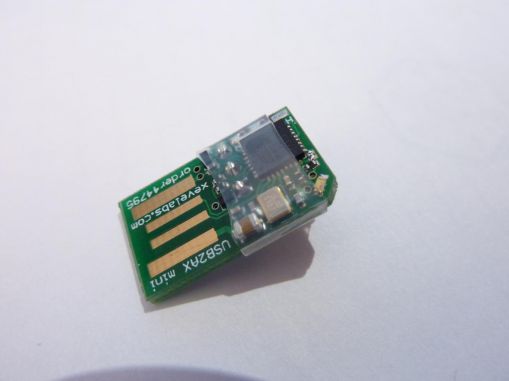
And that's the result:
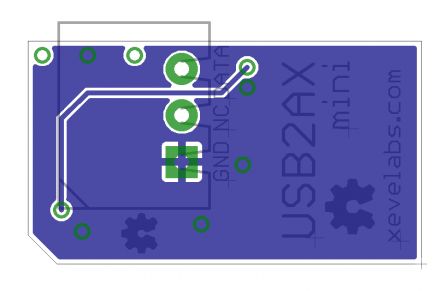
usb2ax_mini_top.png
usb2ax_mini_bot_mirror_.png

With a total length of around 22mm (compared to the 37mm of the V3.0), it already looks a lot smaller. However, by moving the Dynamixel connector a few millimeters inside the PCB, the actual length when measuring the device with a Dynamixel cable plugged in is 17mm shorter (41mm for the v3.0)!

From an electronics standpoint, it's nearly identical to the USB2AX v3.0. The only thing that changed is that instead of protecting each line of the serial port with a 47ohm and the anti-ESD chip, and then connecting them, I connected them directly then protected the remaining DATA line.

USB2AX_Mini___15_.jpg USB2AX_Mini___11_.jpg

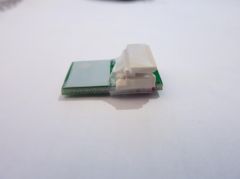
The PCB USB plug has, as expected, some disadvantages. Without modification, you have poor or non-existent electrical contact, that can be fixed by increasing the plug thickness with a piece of tape (here, I use 0.5mm thick Teflon tape). I could have had the PCB made with 2mm thick material, but it costs a lot more with Seeedstudio Fusion. The problems I used to have (see v1.0) with the electrical contact quality have been fixed by getting the board gold-plated (ENIG), with additional gold fingers on the contact pads.

USB2AX_Mini___20_.jpg USB2AX_Mini___19_.jpg
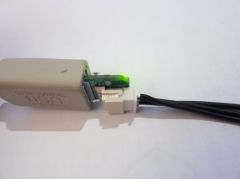
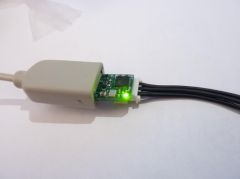
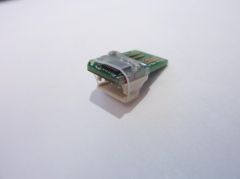
It feels like you are plugging the Dynamixel cable directly into the USB port :P

USB2AX_Mini___21_.jpg USB2AX_Mini___22_.jpg USB2AX_Mini___24_.jpg

I tried to protect the board with some heat-shrink tubing, but it tends to slip when shrinking, I had to do it 3 times to get this result.

All in all, I think it's a fairly cool little board, and it still does its job, so I'm happy with it :) As always, code and files are available in the Git repository :)